AC Infinity oscillating fan power cord repair

This is an older AC Infinity Cloudray oscillating fan. It stopped working and I figured out it is the power cord. Most people have the oscillation fail, this guide should help if you need to replace that motor.

Tools:

Allright, how to get this thing open:

Take the clamp off of the fan body.

Stick a 4mm in here and unscrew it

That’s what comes out. Don’t lose the tension washer. The plastic knob is keywayed you won’t mess up putting it back.

This is where mine cut itself off. Right near the body exit.

Get your thin prytool and start working your way around to release the clips. If you look in from the top you can find one to start at.

Pry that ring off

Same thing for the next junction. Pry and slide

Access to the fan. Clean the blades while you can. There are 4 screws behind the fan blades. You do not need to remove the fan.

Thin phillips. Not eyeglasses thin but narrower than your standard #2 screwdriver

Once you take the 4 screws out you can open the fan motor body. There are a couple ribbon connectors so don’t pull too far. You can undo them if you want. They came apart easy.

It’s hard to see but this wire looks corroded. They didn’t even fully pot most of their components. Grow tents can be pretty humid. Surprised we haven’t seen more electronics failures. Eh, guess it’s built decently.

**OSCILLATION FIX:
Release the ribbons and it’s easier to work on. If you need to fix the oscillation motor it is the silver piece with the blue plastic power cable. Two screws hold it on. If yours is broken I believe this is the right part number:

28BYJ-48 Valve Gear Stepper Motor 12Volt

28byj46-t026-12v

This is the main power plug. These two wires.

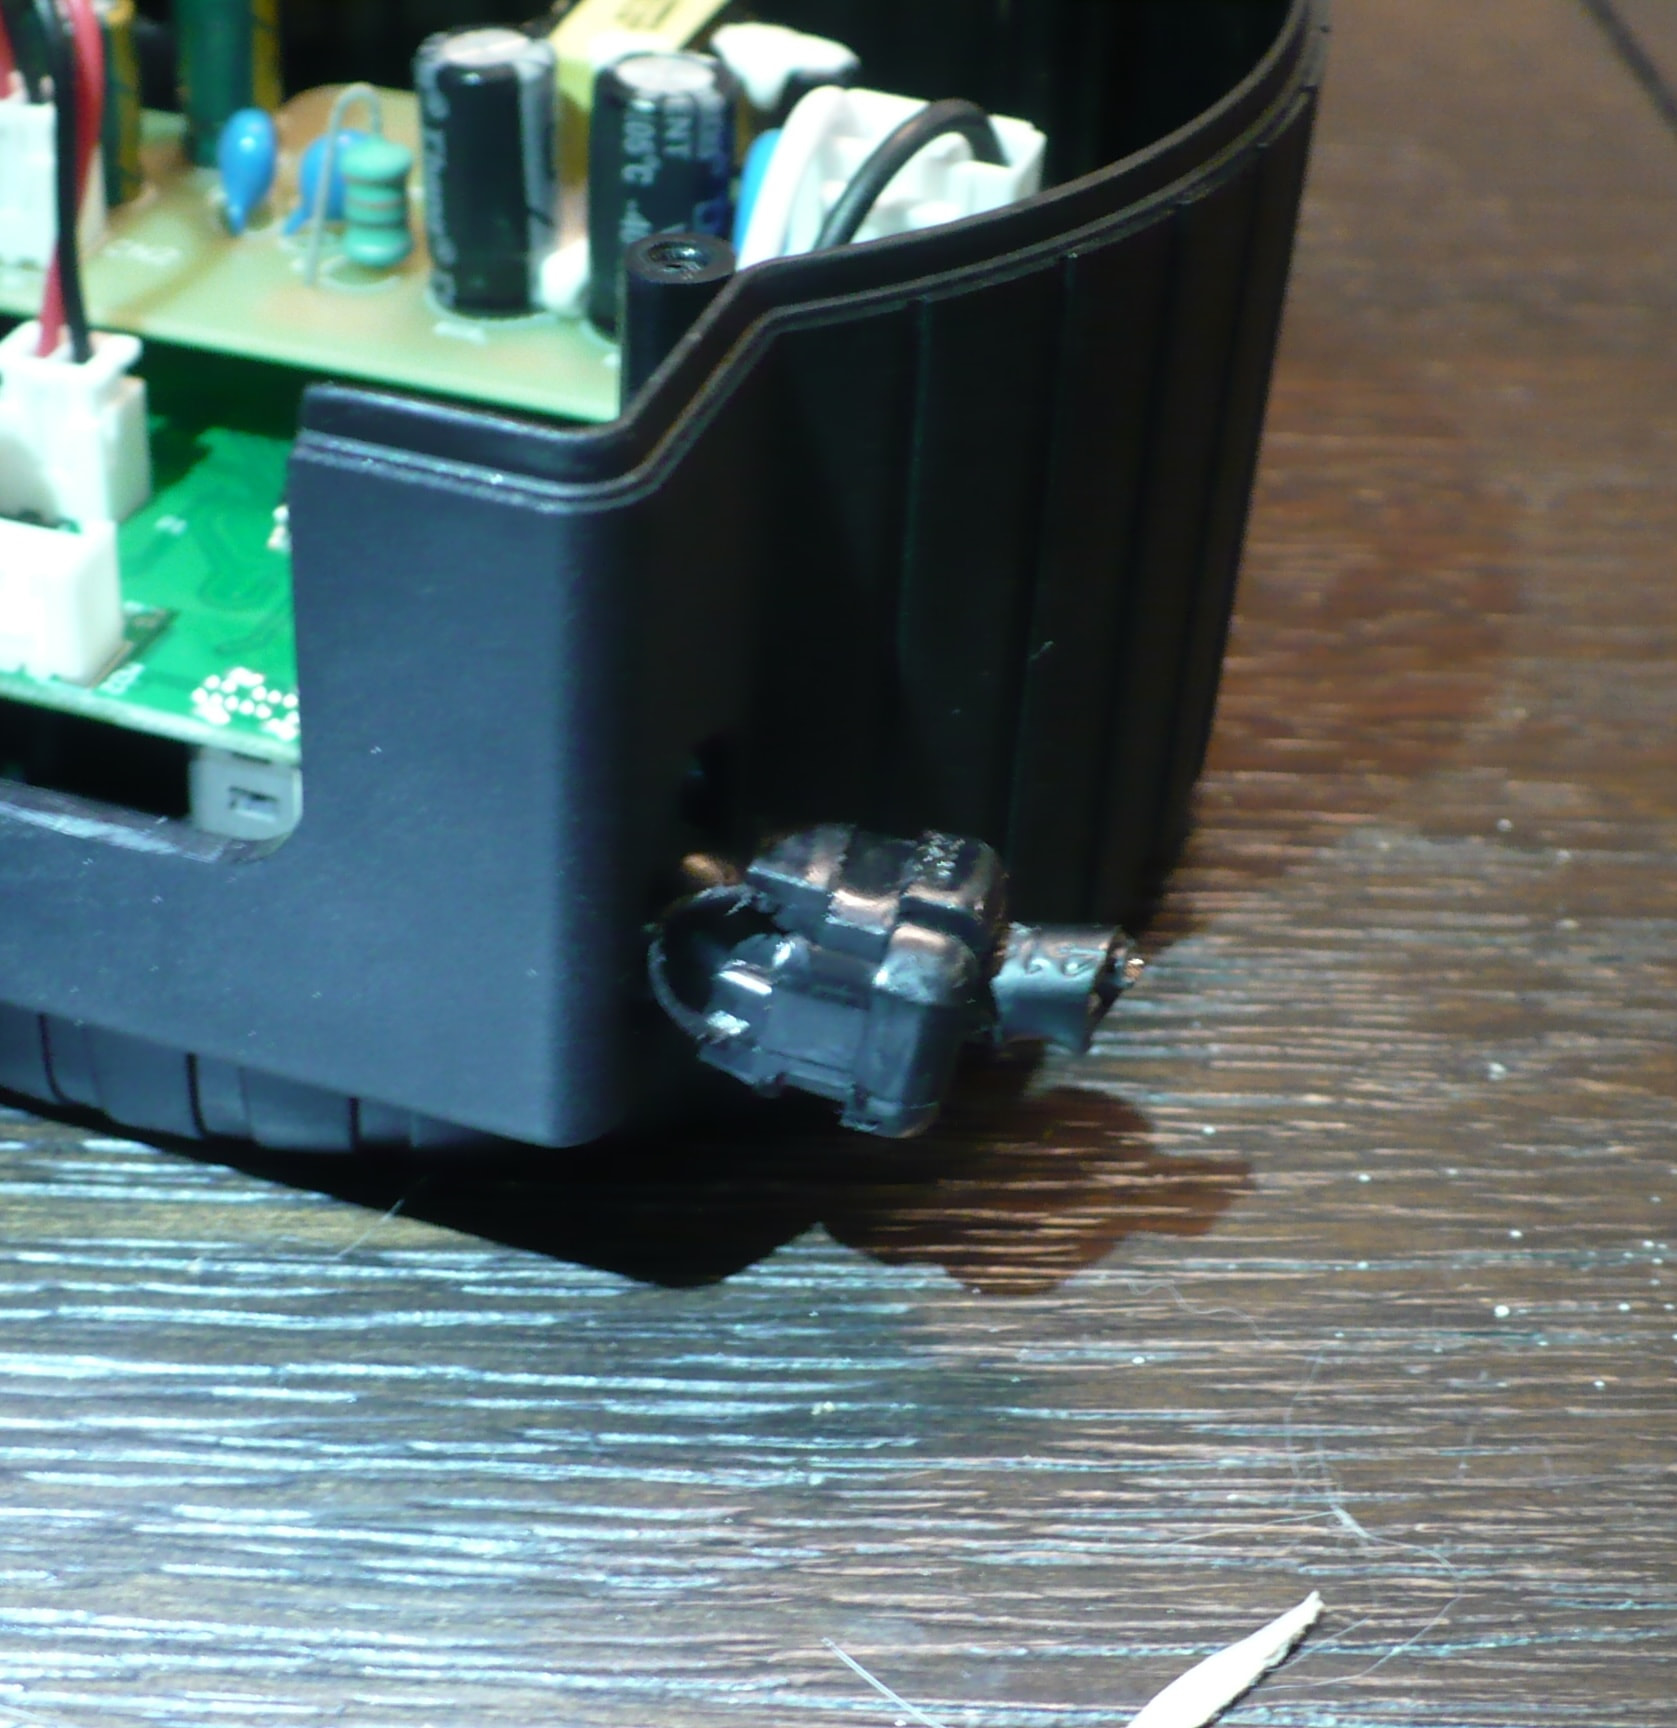
Here is how close to the body mine split. Pry this wire gland out with a small screwdriver. You won’t be able to compress and pull it out. I tried hard. Easy to pry. Don’t pull to far, the cables are short inside the body. I was unlucky.
3 Likes

Continued:

This is how it works and opens. Clips on and wedges into the hole. It really bites a mark into the cord.

My cord break didn’t leave me with much so I had to unclip the cord to have enough room to work. You can cut the black part away from the wires. They are in there very snug but it does slide.

The wires are 20ga, at least thats what gauge my strippers said. I would use the raychem butt splices, they have heatshrink on them already. I only had 22-18 and didn’t feel like going to the store. The blue bag are Dolphin B connectors. They are filled with insulating gel and have teeth. You don’t even need to strip your wires, just push them both in and clamp down with pliers to bite the teeth through both. Easy, sealed, fix.

You don’t have to strip the wires. I had already done it because I was going to use the buttsplices until I realized they were the wrong size. So yea, you don’t even need to strip wires. Just shove them in and clamp.

Plain flat pliers. Clamp firm. You’ll feel it give a little and may hear a click.They are already sort of flat, you won’t mess up.

If you’re not handy or don’t have a soldering iron, keep a bag of these around. You can do small wire repairs easy and quick.

Allright so, you put the wires together after you put the power plug back in the fan right? Cause that connector doesn’t fit through that hole. And you don’t want to cut and redo the work you just did, right? If you haven’t done this before, you can easily de-pin the white block. The wires plug back in easy too. I’ll show you how.

Cause I made this mistake. Fixed the wires without passing them through the plastic.

This is how the wire sits in the block. On the top you can see the small lifted tab. You push down and pull the wire out the back. You’ll need a jewelers screwdriver but you can sometimes just use something small and sharp

Like this. De-pin the black and white, pass the wires through the body and plug them back into the block. Its easy. Give a tug to make sure they are seated. If they won’t stay in, pull it out and bend that tab up a little more so it catches.

Ok wires fixed and plugged back in. Put the fan blade part back on the body housing, screw the 4 screws back in and you’re good. Just tuck the wires in there. It’s enough room.

I tried to put this plastic clamp back in place. It will not go back. I pushed hard and could not get it. I would not even reuse it since the cord broke right next to it.

I put some zip ties to hold the wire. I left some slack so it’s not tight and routed it upwards so it will be free to oscillate easily. If you can’t thread a zip tie, put some folds in it. Makes it easy to wind around stuff.

Protip : If you want a smooth “cut” dont cut with scissors. It always leaves a sharp point. Instead grab those flat pliers, put them against the base and spin. It leaves a nice smooth, well non sharp end.

And fixed, Here is the new cable routing. No snags and no pulling. Fan works again.

Let me know if you have questions.

Images 15 and 17 show the oscillation motor. If you need to fix that is is the silver housing, blue plastic connector, and 5 wires sticking out.

5 Likes

@AutoGrowerMo - Gen 1 fan, first post images 15 & 17 show the oscillating motor. Part number is up there too.

3 Likes